![]()

It is recommended that first time users look through the instructions before starting and refer back to them as required.
The calendar building software will open in a new window or tab so you can still access the instructions.
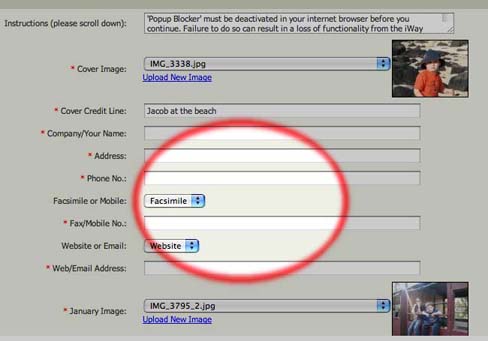
You must turn off "Block Pop-Up Windows" in your web browser Click for more information
1 - Choose 13 photos you wish to use and save them into a folder
optional - you can just link directly to you images folder (or any folder)
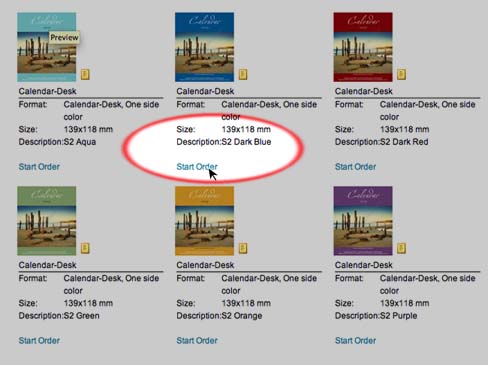
2 - Choose a colour from the next page - Click "start" at the bottom or top of this page
3 - Click on the "Upload New Image" to use your images or the Drop down bar to use our images
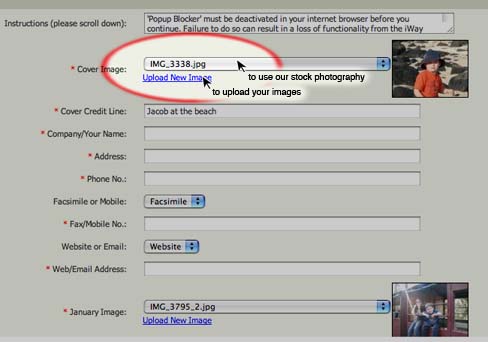
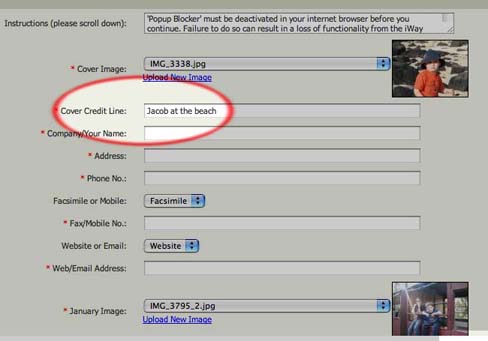
4 - Add a caption to the "Cover Credit Line"
If using your photos add a description of the photo or delete and leave this area blank
If using our stock photos leave blank
5 - Add any details you wish to print on every page of the calendar
You can leave this section blank (delete the existing text)
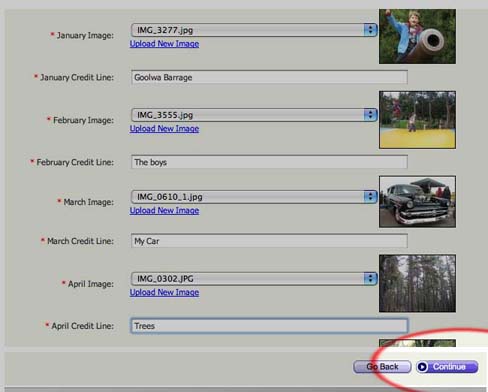
6 - Continue with January to December as per the front cover and then click "continue" in the bottom right hand corner
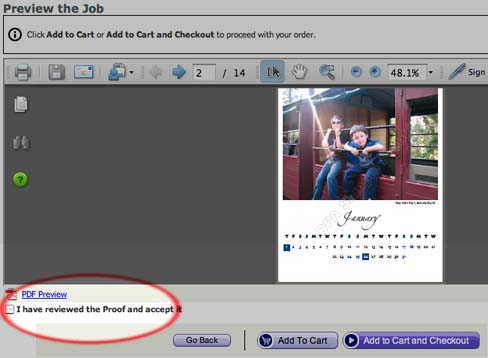
7 - Click on the right and left arrows to preview your calendar
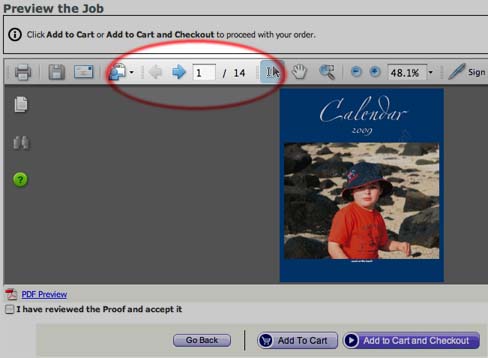
8 - Once you are happy with your proof click "accept' and then "Add to Cart and Checkout"
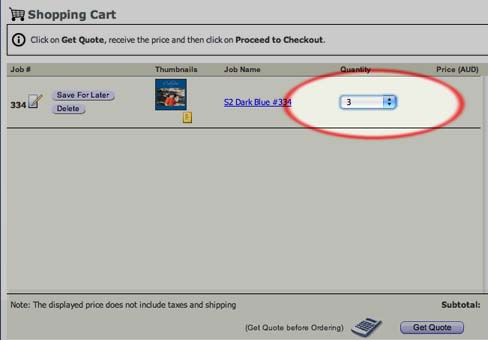
9 - Choose the quantity you want, click "get quote" in the bottom right hand corner and the proceed to checkout